

If you want to get started with email marketing, or want to create a mailing list, then you want someone to provide an overview of the concepts, along with actionable steps to get started.
You do not want to be overwhelmed by options and features. You are tired of reading X vs. Y comparisons between different services which conclude that both options are good for different reasons. That was my experience when trying to get started, and it was unpleasant.
Then I took a different approach. I decided to find free online courses covering the basics of one or more email marketing companies/solutions. After completing MailChimp for Beginners, a free course on Udemy, I decided to try out MailChimp (also because it has a free tier).
Course Overview
It is important to note at the outset that the course was last updated in mid 2016. Given how quickly software advances and evolves, the relevance and accuracy of the material covering MailChimp features was highly suspect. So I checked with other sources along the way. I also created my own account on MailChimp and went through the features myself.
With few exceptions, the course material is still valid and relevant. I cover some of the differences and new features (such as Tags) in this review, to help close the gap.
The course also includes email marketing best practices, guidelines, and a bonus PDF with a step-by-step process for developing effective email campaigns. That part of the course is quite valuable.
Also note that the course is not a comprehensive “getting started guide” in the sense that it will help you setup a list, or create/deploy a signup form on your website. It is ONLY about features found inside the MailChimp UI. That said, I was able to follow along and now the signup form on my website is working and my mailing list is live. You should try it out and subscribe right now!
MailChimp Login
The first step in your MailChimp journey is of course signing up for a free account, confirming it, then going through the MailChimp login, and finally arriving at your dashboard. From there, the course goes on to discuss the major features of MailChimp: Lists, Signup forms, Campaigns, Templates, Groups and Segments, and Reporting (KPIs).
Lists are Now Called Audiences
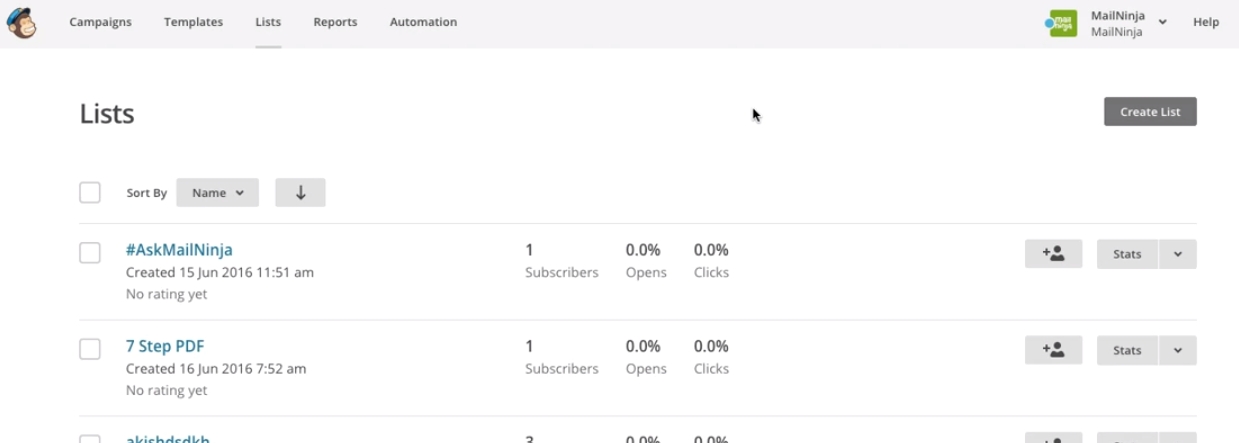
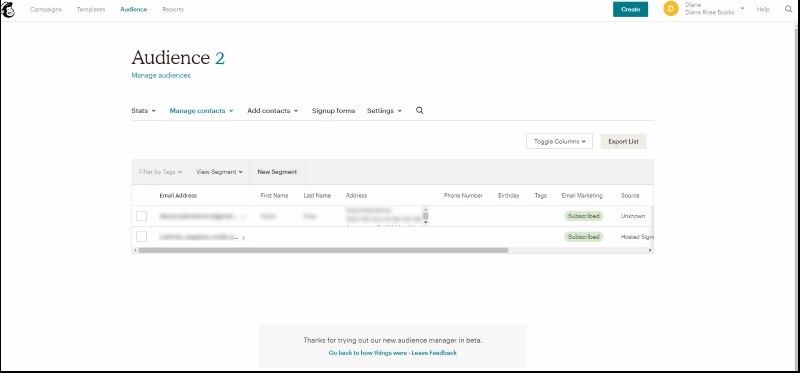
While Lists (Audiences) still contain a lot of the same data, the UI has evolved since the course was created. I captured a couple of screenshots, so you can see how it changed and what it looks like today.
Old Lists UI:
New Audience UI:
How Do People Sign Up for My List?
MailChimp offers a number of different signup form options. The course covers this feature fairly well. I was able to follow along and get the signup form working on my website. I am still wrestling with trying to make the form look exactly the way I want, but that issue has to do with styling (CSS) and is outside the scope of the course.
What about third party signup tools, like OptinMonster? I have not researched these at all, so I am unclear what value they add. I seem to have everything setup and working with MailChimp directly, but still find the question intriguing. If you have advice or an opinion on these tools, let me know in the comments.
Where is the Autoresponder?
This course briefly mentions autoresponders, but focuses primarily on creating campaigns manually. I think email marketing automation is far more useful than the course suggests, so I investigated further.
Other courses and blogs I referenced point out that MailChimp autoresponders are excluded from the free tier. This has changed, because I can create automated Campaigns triggered when users sign up, which is an autoresponder! MailChimp also supports other triggers based on different types of user activity and in different contexts.
Education Series
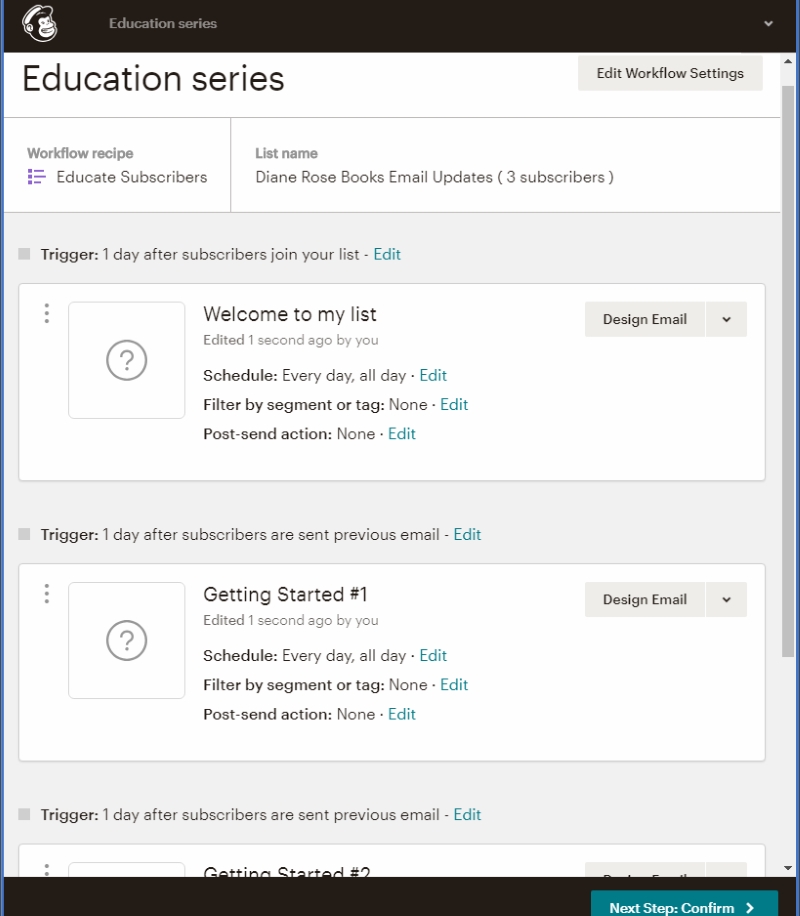
One of the prepackaged campaigns (autoresponders) is an Education series. This automation shows how you can send a welcome email, then a series of 4-5 daily emails to educate each new subscriber about some topic. You can plug your email content right into this structure to get up and running quickly. Or customize the campaign to add more triggers, change the sequence, etc… It is setup like the screenshot below as a starting point.
MailChimp Automation Triggers
In addition to prepackaged sequences, MailChimp supports various triggers for automation, which I have listed below.
Tags
- Email a message when you add a tag to a contact
Subscriber Activity
- Welcome new subscribers (onboarding series)
- Respond to subscriber updates
- Thank pop-up form subscribers
E-Commerce
- Thank first-time customers
- Reward your best customers
- Retarget site visitors
- Recover abandoned carts
- Enable order notifications
- Follow up on purchases
- Win back lapsed customers
Date Based
- List added date (send email based on when a subscriber joined your list)
- Happy Birthday
- Specific date
- Recurring dates
Campaign Options
MailChimp campaigns include a lot of options. This is my first dive into email marketing, so it feels daunting until you break it down and examine each option. Luckily, the course says a few words about many of the campaign options, which is a nice bit of introduction. They also provide a few best practices and some advice along the way, which is helpful.
What Time Should I Send Emails?
One feature that is probably worth paying for once you get things ramped up with your list is Send Time Optimization. This feature lets MailChimp send emails at the best time for the recipients, so they are more likely to open the email.
On the free tier, you can schedule emails to be sent:
- ASAP,
- At a specific time, or
- Within a window of time (e.g. between 10 AM and 2 PM).
Landing Page Limitations
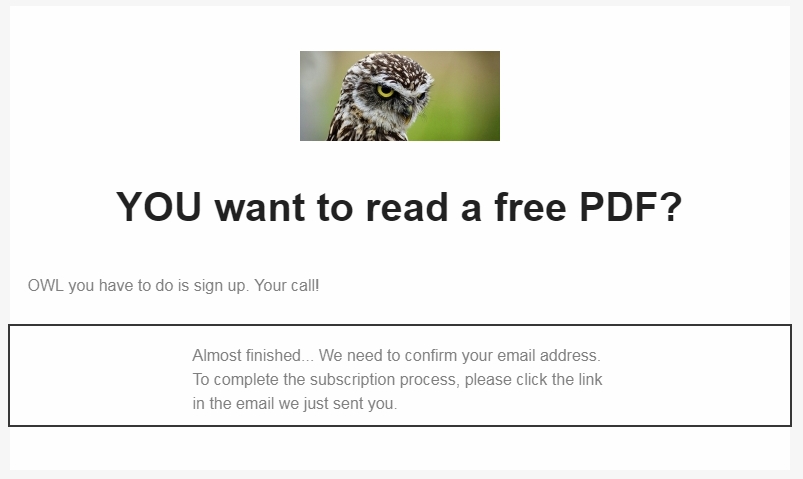
This is not a review of MailChimp, but their landing pages have a few limitations and I want to point one out. If you use double opt-in for subscriptions, the landing page displays canned “check your email for a link” text, which you cannot change. Here is my test landing page showing that text at the bottom:
Alternatively, you can substitute a URL, so instead of the canned text, visitors go to a different web address. This is probably preferable in a production-strength landing page.
You can check out my test landing page here.
Should I Use Email Design Templates?
The course covers email templates, showing how to use MailChimp’s visual design tool to create various content blocks, add images, etc… Then they say to think carefully about using this feature because pure text converts better. But they do not offer any studies or evidence to substantiate this claim. The course also says you can use images. They recommend using smaller images (less than 1000 pixels), and to keep the ratio 60/40 text/images.
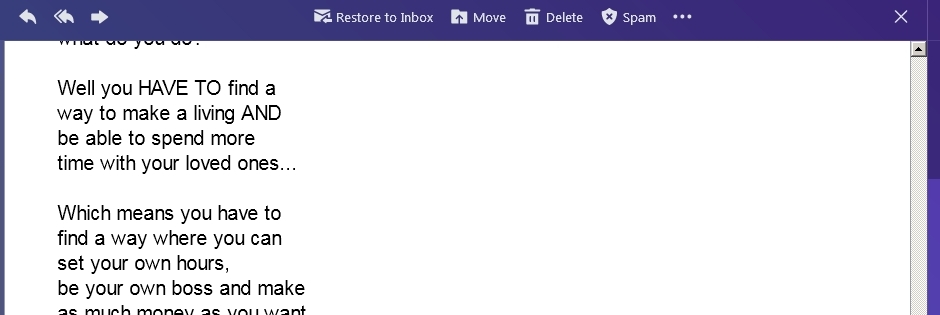
I subscribe to a number of newsletters and email marketing campaigns from various “internet gurus” and supposedly successful people. In my experience, most of their emails follow this text-only paradigm (plus links to various Calls to Action). In addition, many of them limit each line of text to a specific column width, irrespective of your email client window size. The screenshot below is an example.
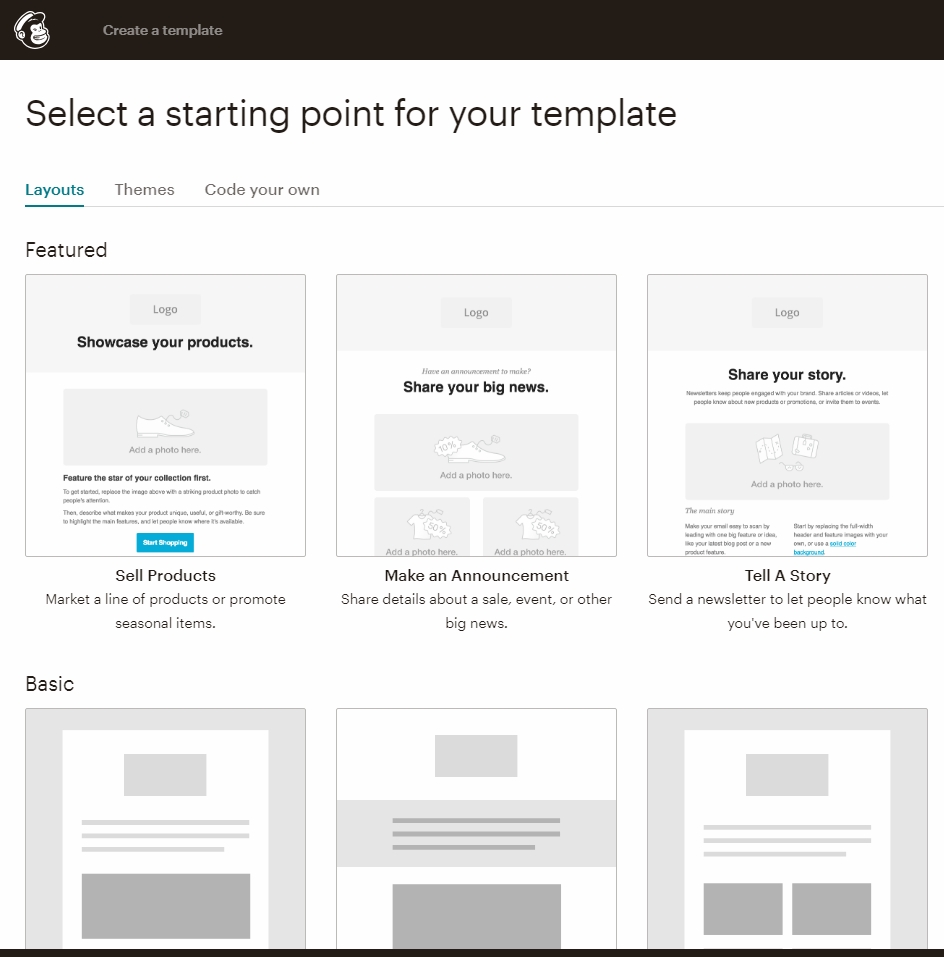
If you decide to go with one of the email design templates, MailChimp offers 14 options to choose from (one of which is text only). Here are six, for example:
MailChimp design tools support a broad range of customizations, both to the appearance and content of the templates. The course covers some of this, so the information is still relevant, even if parts of the UI have changed.
Groups, Segments and Tags
You will usually want to send campaigns to only some of your subscribers. Groups, Segments, and Tags allow you to divide up your audience using various criteria, so you can control who receives a campaign. The course covers Groups and Segments. Tags are a newer feature not discussed in the course.
Groups
A Group is an option the subscriber chooses. For example, if you allow subscribers to select which types of content they are interested in, they are putting themselves into groups.
Segments
A Segment is an internal grouping or collection of subscribers based on their interactions with you over time. You can also create segments manually, though this is being phased out in favor of Tags.
Tags
Tags are like labels in Gmail and WordPress. You add tags to subscribers to help categorize and organize them. Segments can be created from tags. Campaigns can be sent to subscribers who match tag criteria. You can tag subscribers manually, or automatically as part of your automations, depending on what actions your subscribers take.
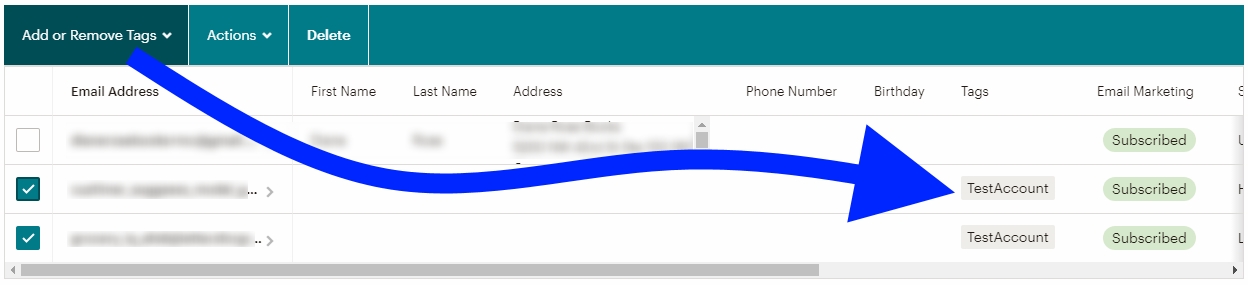
To add or remove tags manually, select the desired contacts in your Audience and click the “Add or Remove Tags” button in the top left corner (see screenshot below).
Which KPIs are Useful for Reporting?
The course focuses on two primary KPIs (Key Performance Indicators):
- Open rate
- Click rate
Increasing either or both of these KPIs means higher levels of engagement with your subscribers.
MailChimp automatically generates reports, so you can see how your email performs on both of these metrics. These reports are available on the free tier for campaigns, automation, and landing pages.
Reporting in MailChimp does have limitations though. I have not found a way to see reports for performance of the signup “flow”. In other words, I cannot figure out how to answer these questions:
- How many people submitted the signup form with a valid email address?
- What are the open rates and click rates for the confirmation email?
- How many people complete the Captcha to finish the subscription flow?
- What are the open and click rates for the final Welcome email?
Conclusion
If you are looking to get started with email marketing, MailChimp is the first place to go. Use the free tier to get your feet wet without fear of a big commitment or recurring monthly cost. Yes, some features are limited or unavailable, but for someone just starting out, like me, it is enough to learn the ropes.
What better way to learn the ropes than to go through a couple of free online courses? MailChimp for Beginners is a great starting point. It covers both the tool and core email marketing concepts. At the end you have a better sense of how to do email marketing AND how to use MailChimp to get it done.
I recommend you download my free Course Guide as a handy reference to accompany the course. It includes a fun little quiz at the end, so you can test your understanding of the material. Enjoy!